This post will download an ISO installation of TrueNAS and boot it to install in the Linode and DigitalOcean cloud service providers as if it was in a local virtual or physical machine.
TrueNAS is an open-source Network-Attached Storage operating system based on FreeBSD that uses the OpenZFS file system. TrueNAS CORE (previously known as FreeNAS) is the world’s most popular software-defined storage.
LINODE
- After creating a Linode (recommended minimum of 4GB of RAM), Power Off.
- Go to Settings > Shutdown Watchdog > Disable.
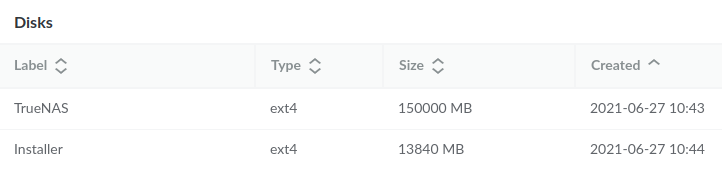
- In Storage > delete all the current disks and create new ones, giving enough space for the ISO installation on the secondary.
Example of a Linode that has 160GB of SSD:
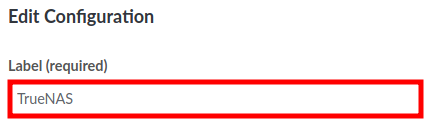
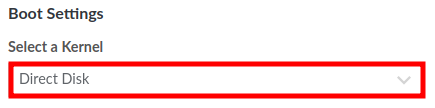
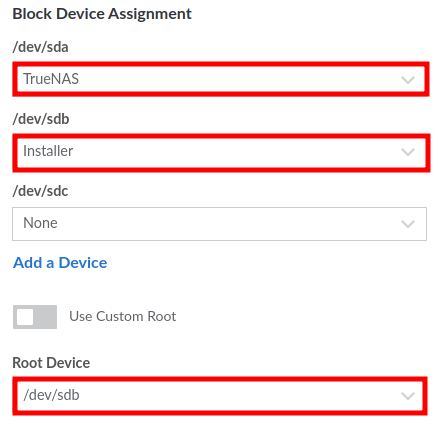
- Go to Configuration > Edit and change it as follows:
- Power On in Rescue Mode and issue the following command in the WEBLISH Console:
curl https://download.freenas.org/12.0/STABLE/U4/x64/TrueNAS-12.0-U4.iso | dd of=/dev/sdb
- After completion of the download Reboot and go to GLISH Console to perform the installation:
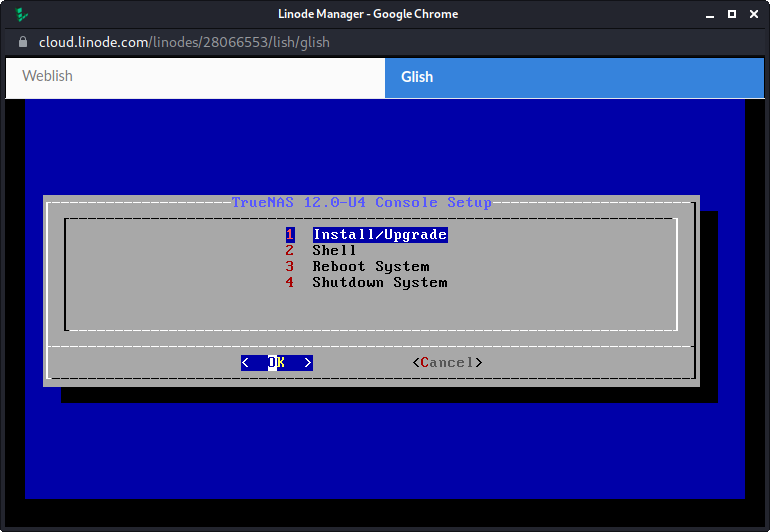
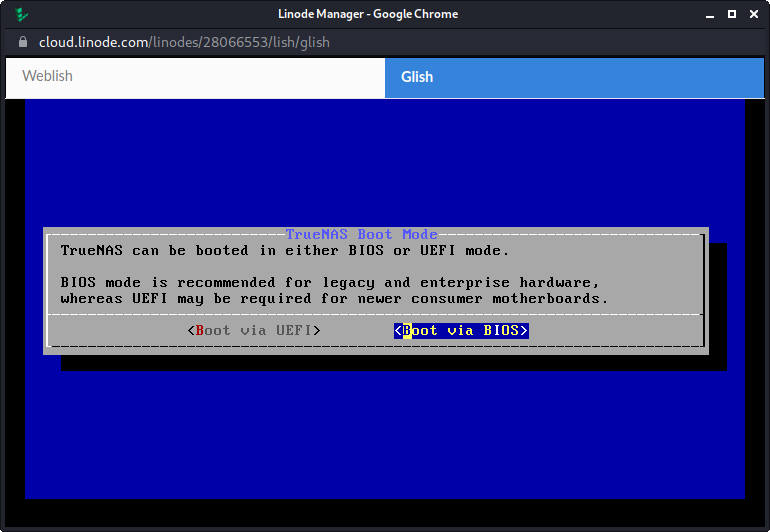
- Follow the installation process and opt for Boot via BIOS when prompted:
- When the installation is completed, Power Off the VM and go to Configuration > Edit and change the root to the newly installed system disk:

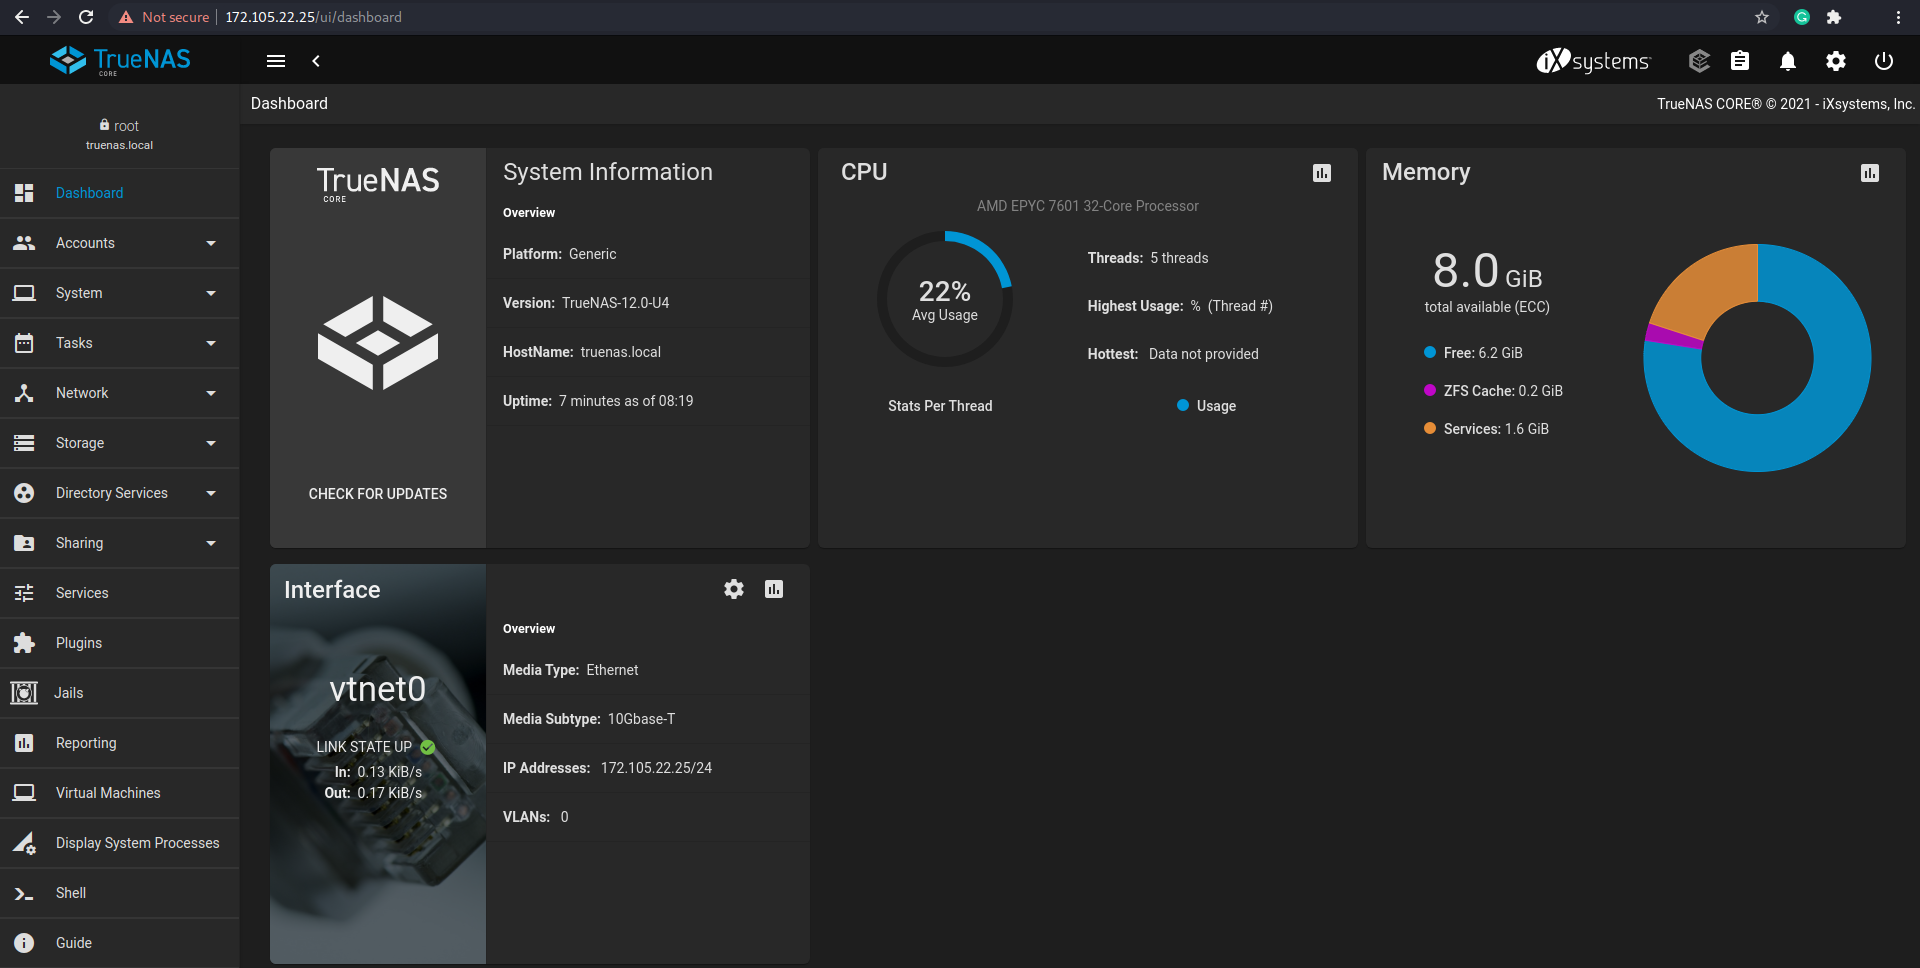
- Power On the VM and watch the boot on the GLISH Console. It may take a while.

- Use the internet browser to navigate to the shown address.
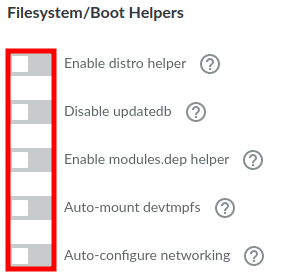
- Your installation is completed but few measures are recommended:
- Always use HTTPS instead of HTTP.
- Prefer to use a real SSL/TLS certificate instead of the self-signed that is automatically installed.
- Use the Linode’s Firewall to wrap up your NAS and only allow access from trusted sources, such as the IP of your physical or virtual networks.
- If the clients are also located in Linode (other VMs) prefer to allow them to get access over a VLAN or at least using the non-public IPs to prevent metered traffic over the public IP when possible.
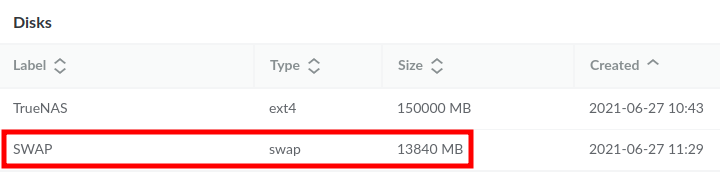
- Also, consider powering it down and deleting the temporary installation partition and converting it into a SWAP:
DIGITAL OCEAN
Digital Ocean does not offer a similar disk manager configuration like Linode and for that reason, it is not possible to boot from an ISO image directly.
The alternative created is to overwrite the boot block device with the TrueNAS ISO to run the installation instead of the FreeBSD. Then install in an attached volume temporarily, and finally copy it from the attached volume to the root of the Droplet disk (destroying the Volume).
This technique can be used to install pfSense and other distributions.
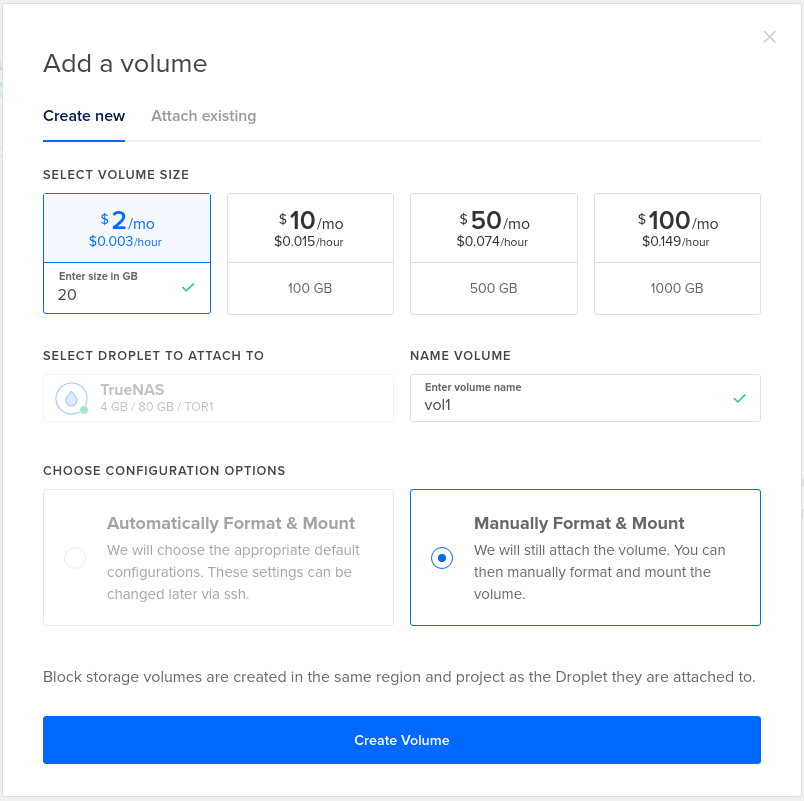
- After creating a FreeBSD Droplet (recommended minimum of 4GB of RAM), add a Volume to it:
- SSH into the droplet:
wget https://download.freenas.org/12.0/STABLE/U4/x64/TrueNAS-12.0-U4.iso
swapoff /dev/gpt/swap
sysctl kern.geom.debugflags=0x10
dd if=TrueNAS-12.0-U4.iso of=/dev/vtbd0 bs=512k
shutdown -r now
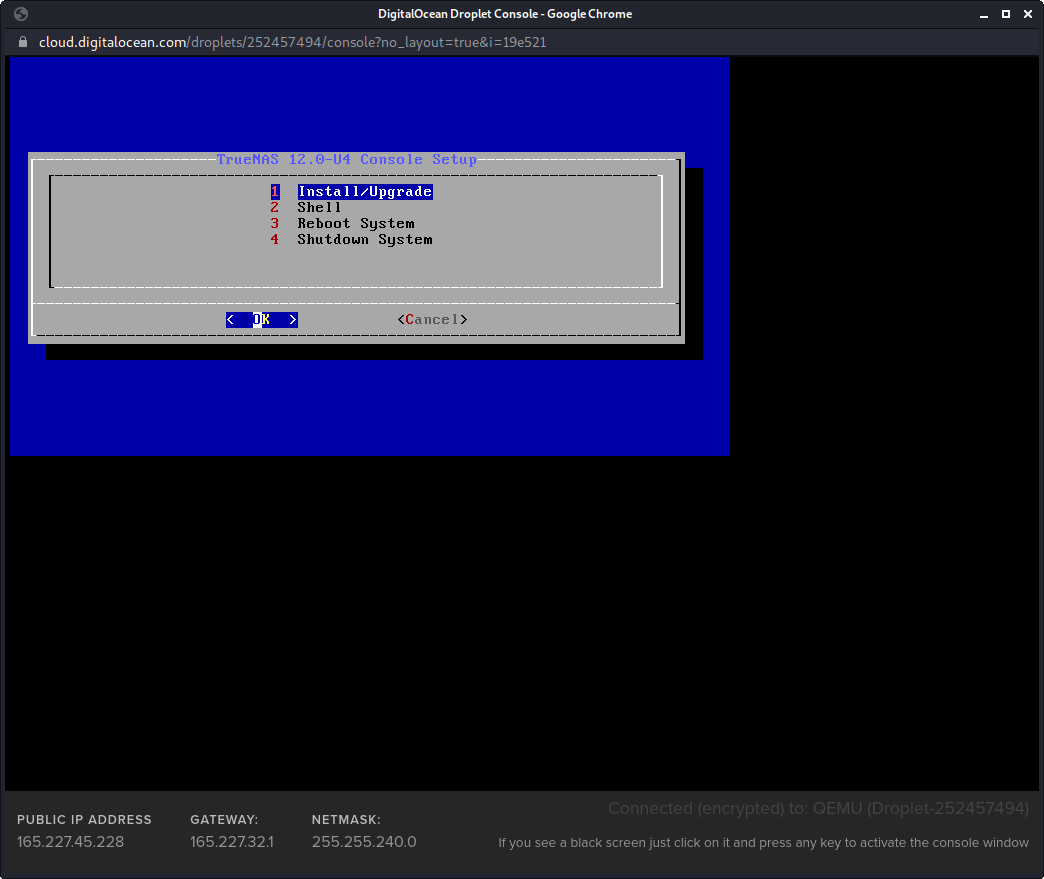
- Open the Console of the Droplet and proceed with the installation:
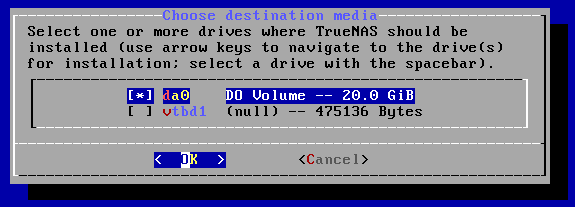
- When prompted select the installation media /dev/da0 (the attached volume):
- After the installation is completed Turn Off the VM.
- Go to Destroy > Rebuild using the same FreeBSD version used in the beginning.
- SSH into it once more and issue the following commands:
swapoff /dev/gpt/swap
sysctl kern.geom.debugflags=0x10
dd if=/dev/da0 of=/dev/vtbd0 bs=512k
shutdown -r now
- The VM will be rebooted and there is no network connectivity.
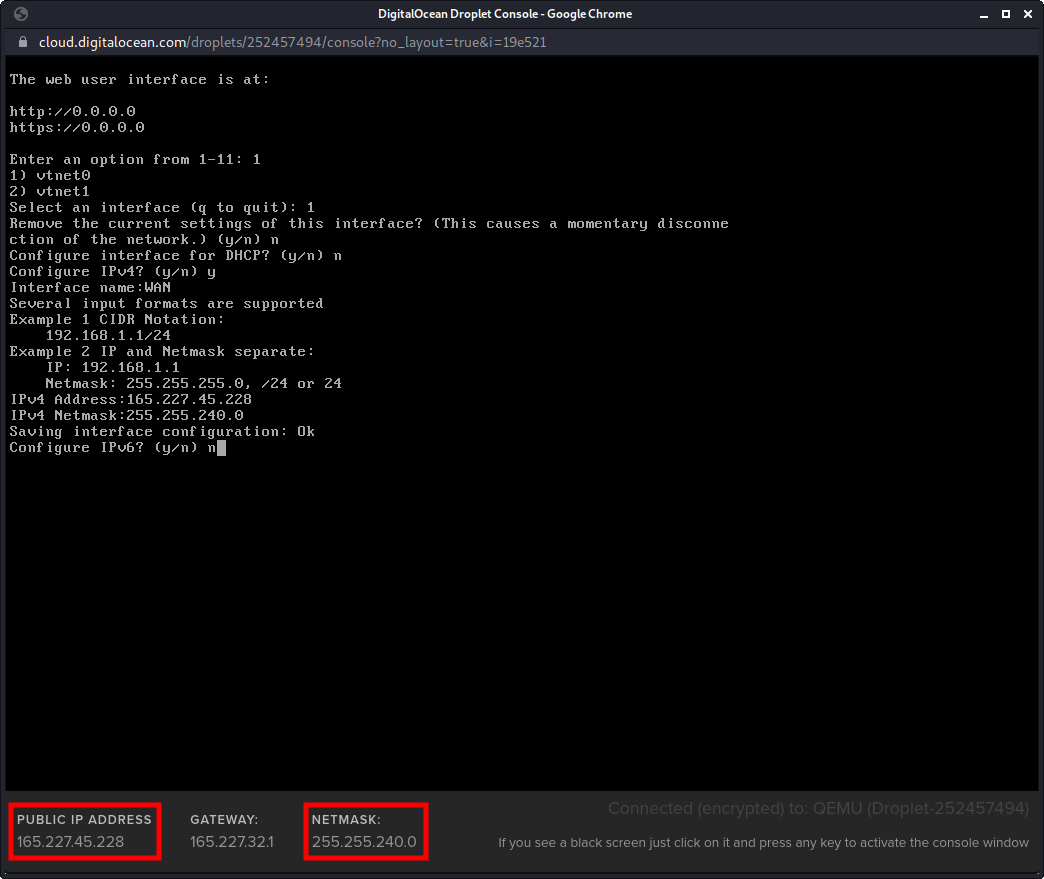
- Go to Console and configure the NIC accordingly:
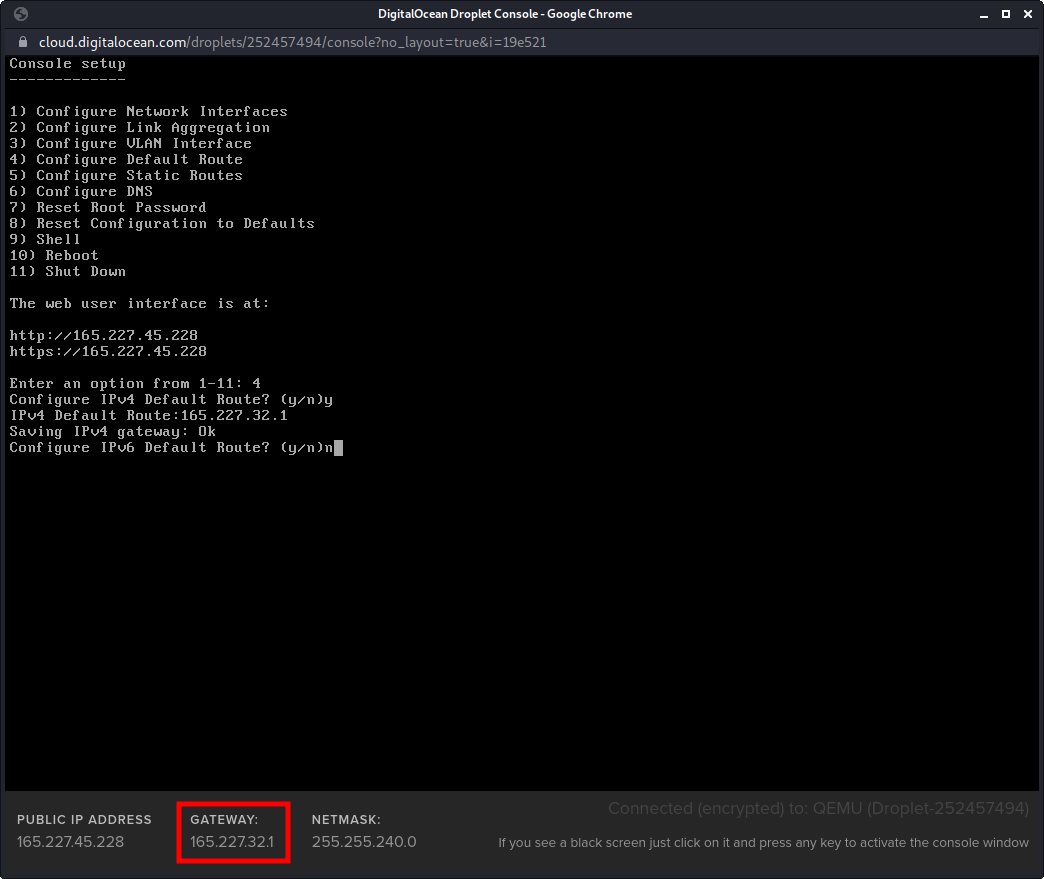
- Now set up the default gateway to connect the server to the internet:
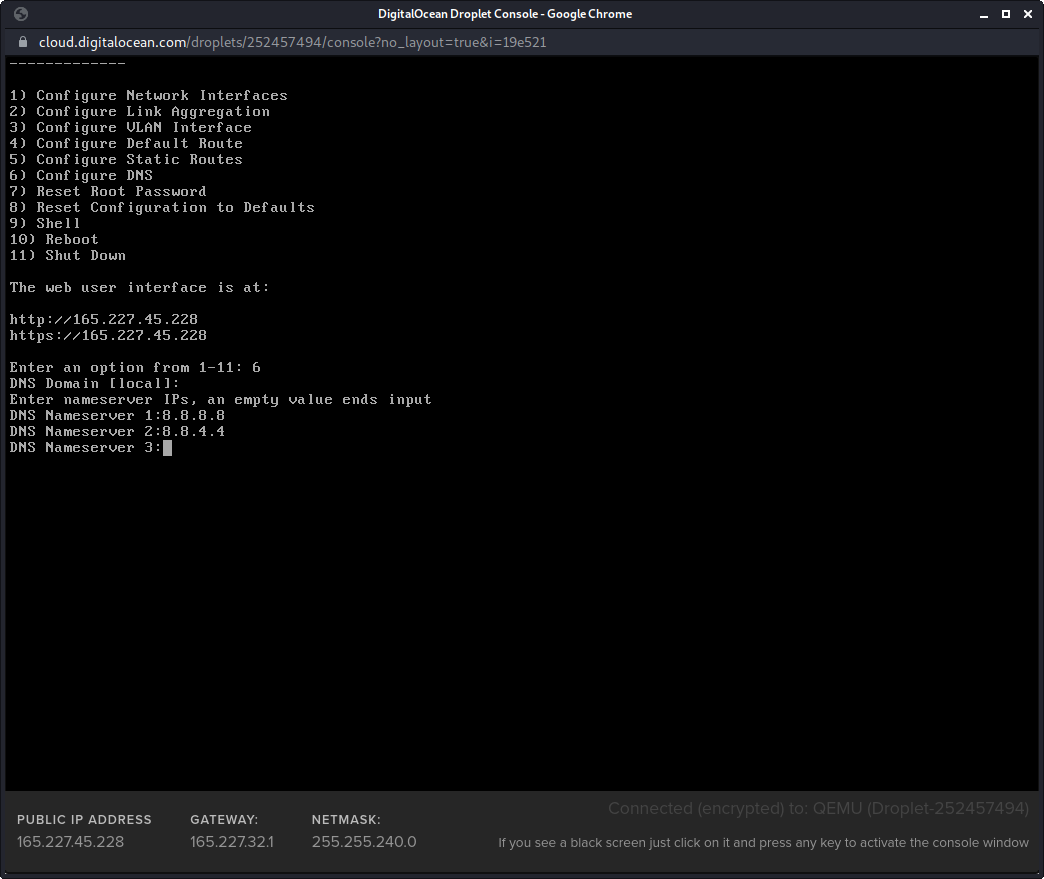
- Configure the DNS:
- Use the browser to navigate to the shown address and log in with the root user and the defined password during the installation.
- The attached Volume can be deleted now, but can also be used to a pool and increase the storage capacity of the NAS.
- Enlarge or partition the unused space of the main disk. Only 20GB is in use for the system and the GPT is corrupted:
gpart show vtbd0
gpart recover vtbd0
gpart show vtbd0
gpart add -t freebsd-ufs -b 41911336 -s 125860784 vtbd0
gpart show vtbd0
newfs -U /dev/vtbd0p3
mkdir /local_storage
mount /dev/vtbd0p3 /local_storage
Note: the numbers highlighted refer to the BEGIN and SIZE of the free space that will be fully allocated in the new partition.