Owncast is the solution for broadcast videos, classes, presentations, games, talks, or anything else independently of any vendor or service provider.
It is an open-source self-hosted solution, highly customizable and flexible that can be deployed in minutes on-prem or in the cloud.
DEPLOY OWNCAST DOCKER CONTAINER
sudo apt install docker.io -y
sudo docker run -p 8080:8080 -p 1935:1935 -it gabekangas/owncast:latest
It is also recommended to have a local directory mapped on the container for easy backup of the configuration.
sudo docker run -v /owncast-config:/app/data -p 8080:8080 -p 1935:1935 -it gabekangas/owncast:latest
INSTALL OWNCAST DIRECTLY ON THE SERVER
sudo apt install unzip -y
sudo curl -s https://owncast.online/install.sh | sudo bash
cd owncast && sudo ./owncast
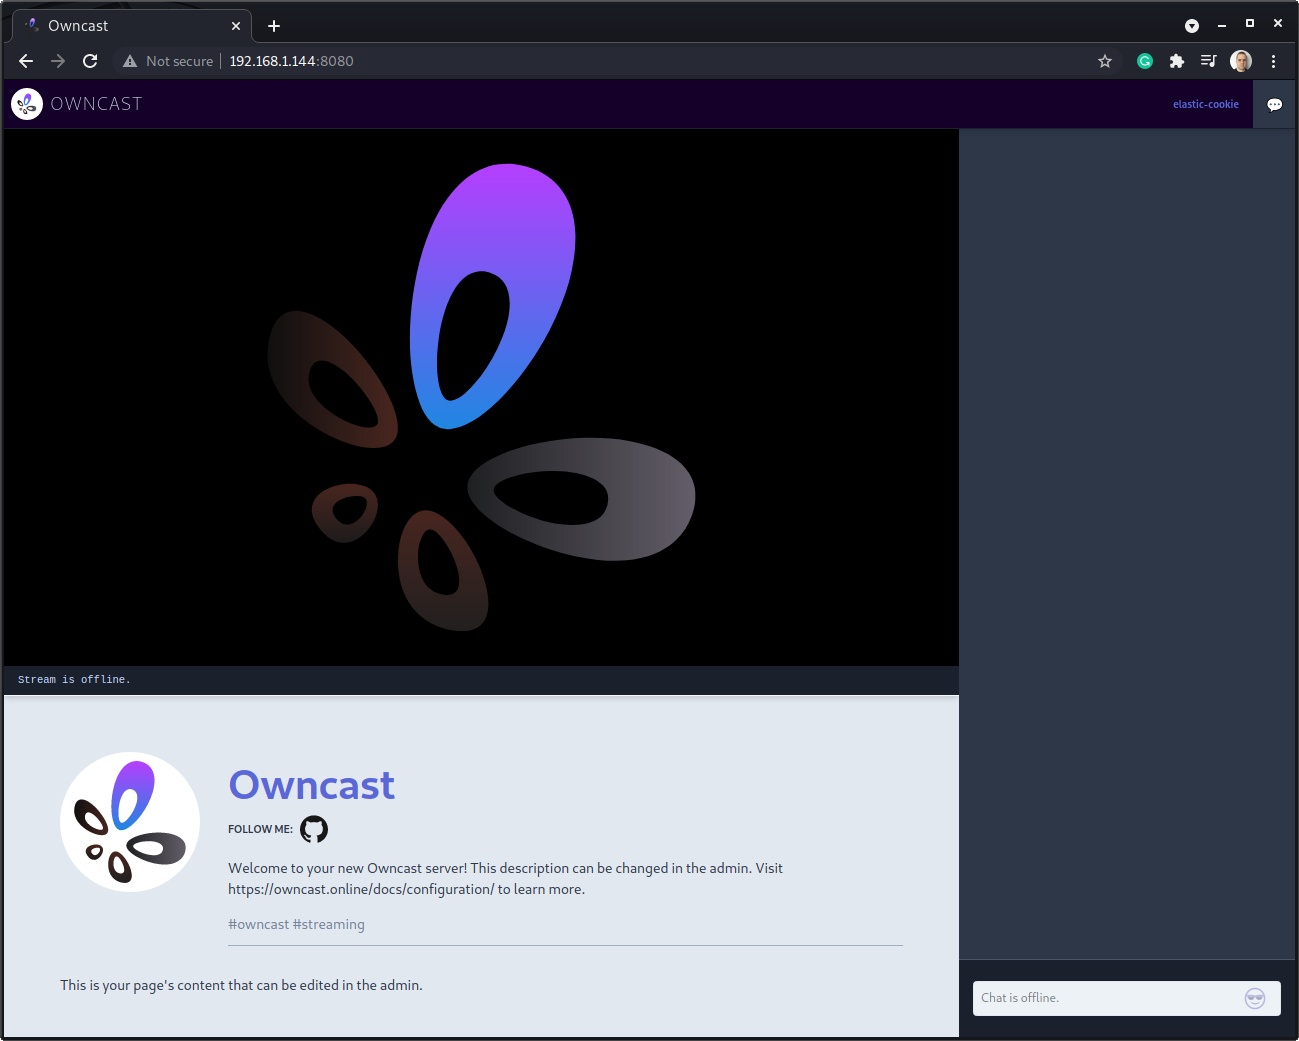
Either the deployment method, the default page will be available at http://192.168.1.144:8080/ (change the IP accordingly).
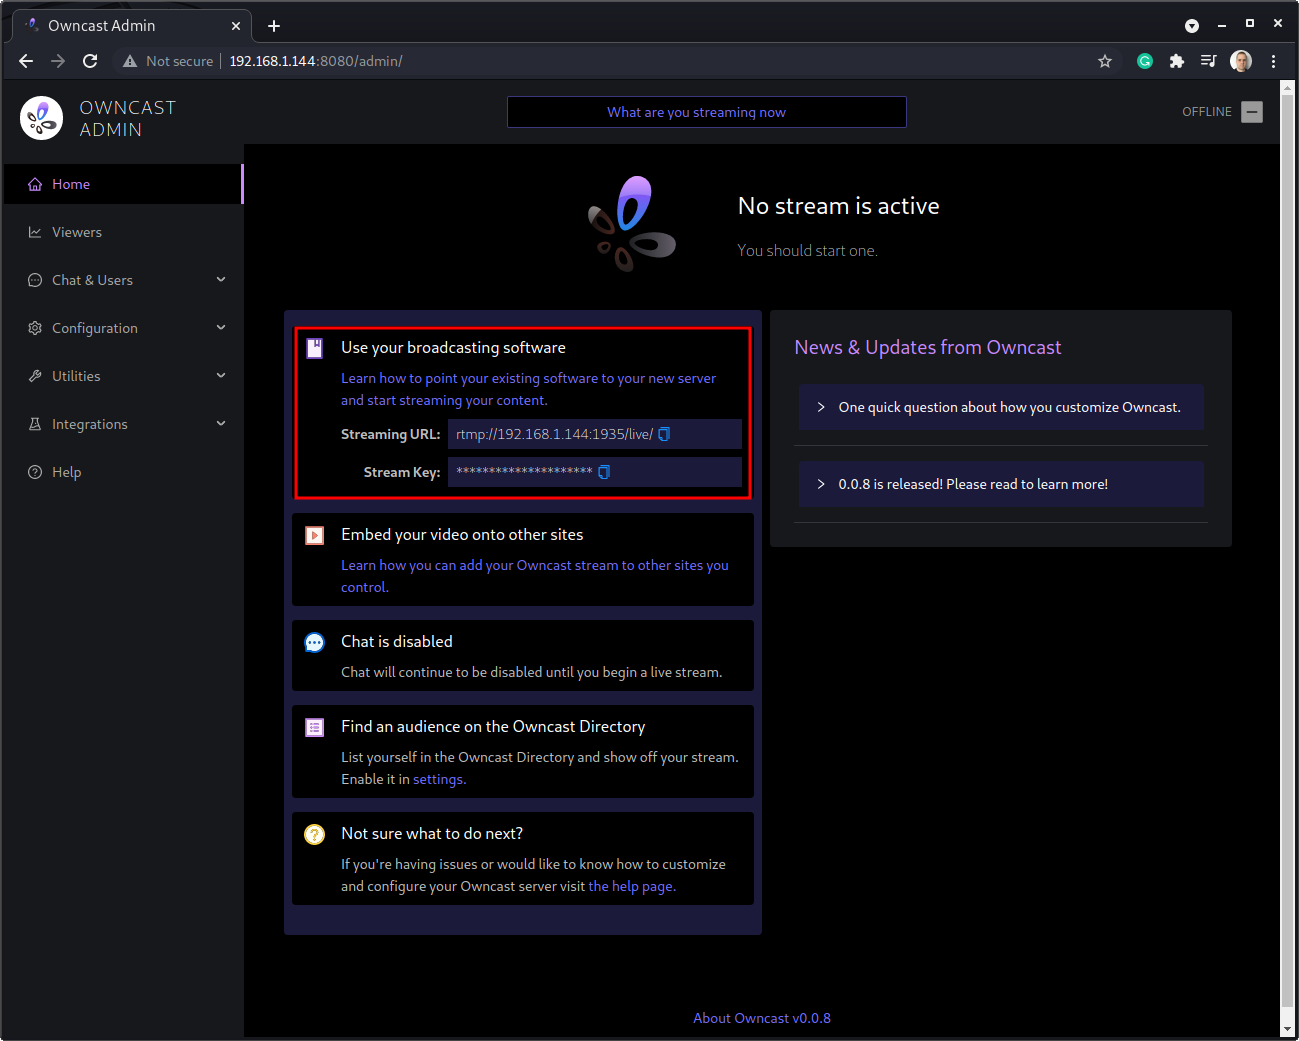
The administration dashboard will be http://192.168.1.144:8080/admin/ with the default username is admin and password abc123 (it is also the default stream key).
CHANGE THE PASSWORD IMMEDIATELY!
By default, anyone with access to the web interface will be able to watch the transmission and send messages/questions on the chat.
HOW TO MAKE A TRANSMISSION
The transmission can be made from any application capable of streaming over RTMP with a secret key, such as VLC, OBS, and many others.
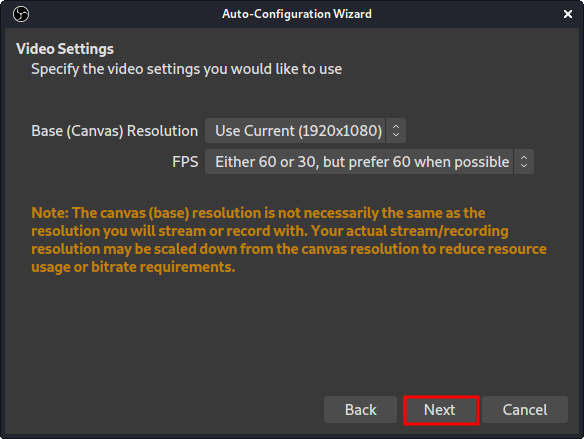
Install OBS Studio on your workstation (Linux, Windows, or Mac). For Debian based distros issue:
sudo apt install ffmpeg obs-studio -y
The application will be available in the main menu:

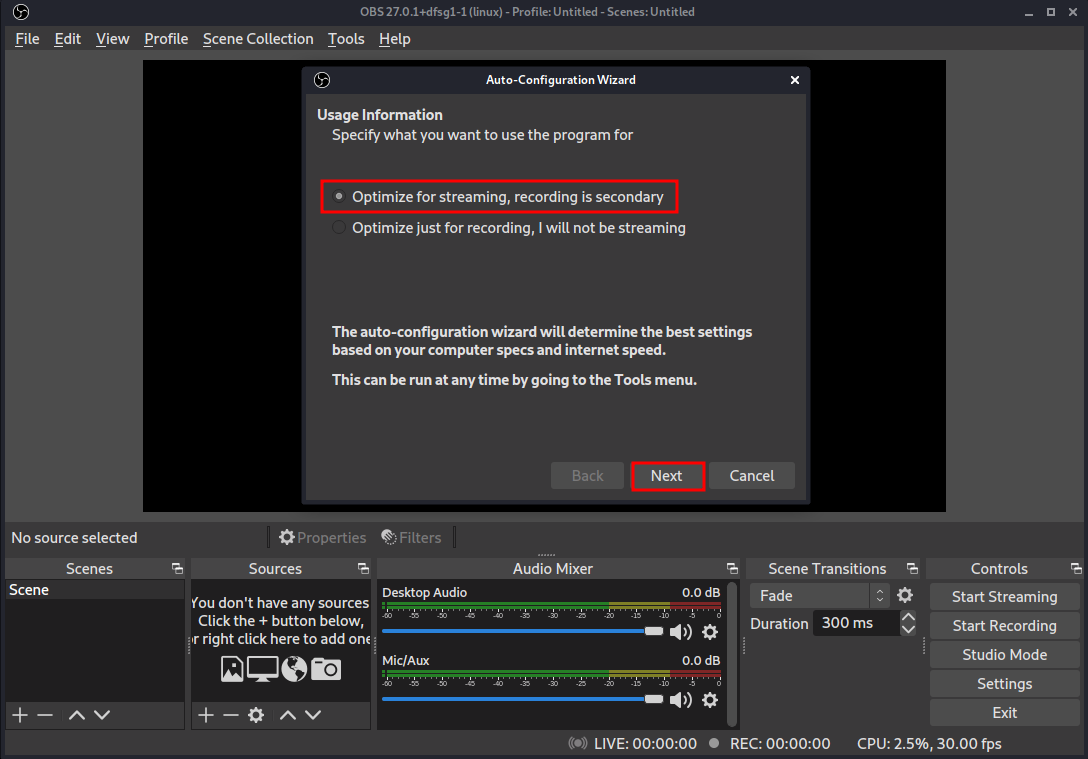
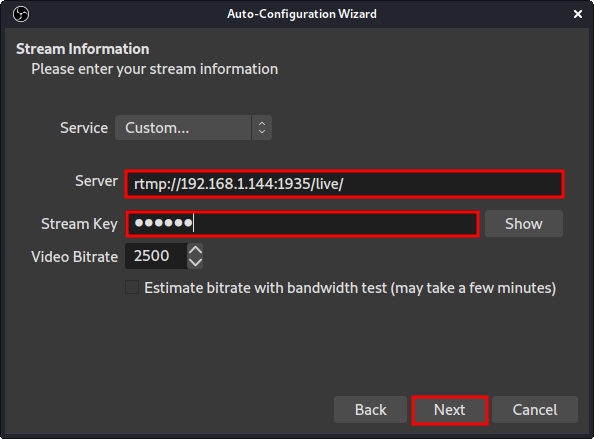
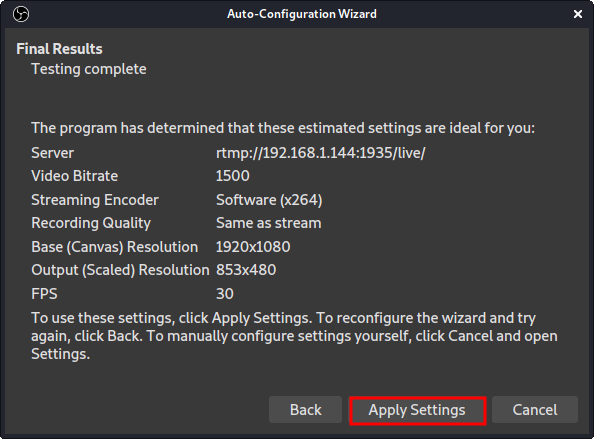
Press START STREAM and go watch the server broadcasting your transmission to all connected clients.
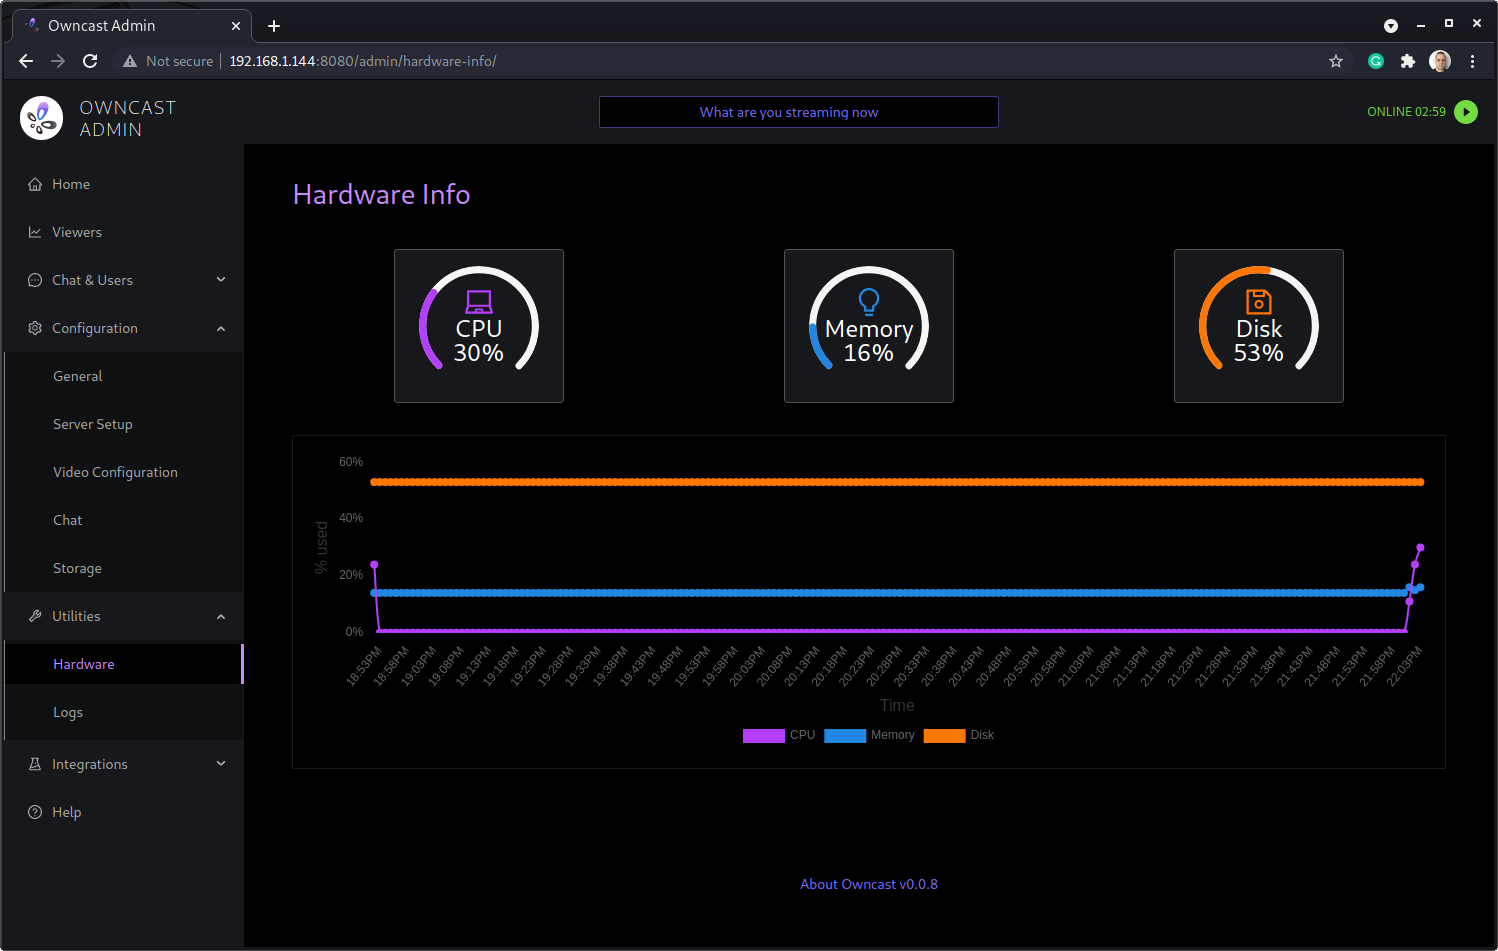
Keep one eye on the resources usage and number of connected clients accordingly size the necessary server hardware to meet your demand.