Zabbix is an infrastructure monitoring tool. It is a powerful open-source and capable of monitoring servers, applications, services, network devices, virtual machines, cloud services, and much more.
It is compared to other monitoring solutions such as Nagios but with a much easier and straightforward set up process.
SYSTEM INSTALLATION
wget https://repo.zabbix.com/zabbix/6.0/ubuntu/pool/main/z/zabbix-release/zabbix-release_6.0-1+ubuntu20.04_all.deb
sudo dpkg -i zabbix-release_6.0-1+ubuntu20.04_all.deb
sudo apt update && sudo apt upgrade -y
sudo apt install zabbix-server-mysql zabbix-frontend-php zabbix-apache-conf zabbix-sql-scripts zabbix-agent -y
Connect to the MySQL server:
sudo apt install mysql-server -y
sudo mysql -u root
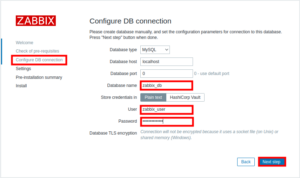
Create the database:
mysql> create database zabbix_db character set utf8mb4 collate utf8mb4_bin;
mysql> create user zabbix_user@localhost identified by 'STRONGPASSWORD';
mysql> grant all privileges on zabbix_db.* to zabbix_user@localhost;
mysql> flush privileges;
mysql> quit;
Create the database schema importing from the documentation template:
zcat /usr/share/doc/zabbix-sql-scripts/mysql/server.sql.gz | mysql -uzabbix_user -pSTRONGPASSWORD zabbix_db
Restart the service and make it load on boot:
sudo systemctl restart zabbix-server zabbix-agent apache2
sudo systemctl enable zabbix-server zabbix-agent apache2
Grab the IP address of the server:
ip a
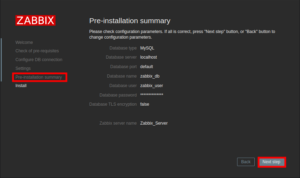
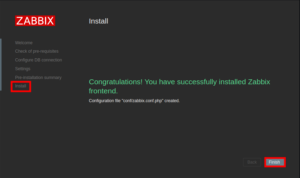
ZABBIX INSTALLATION
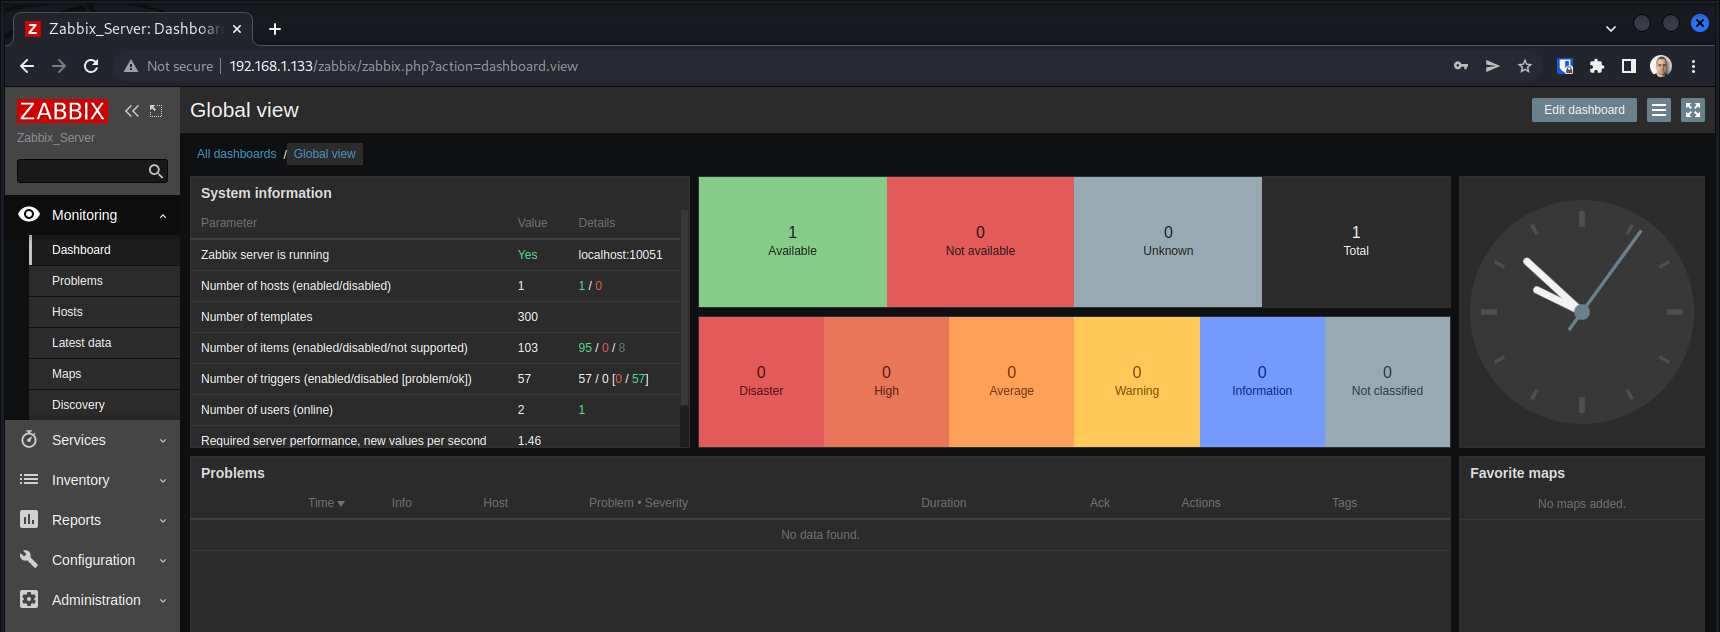
With the information of the Zabbix server’s IP, navigate to the IP address of the Zabbix server (e.g. http://192.168.1.133/zabbix).
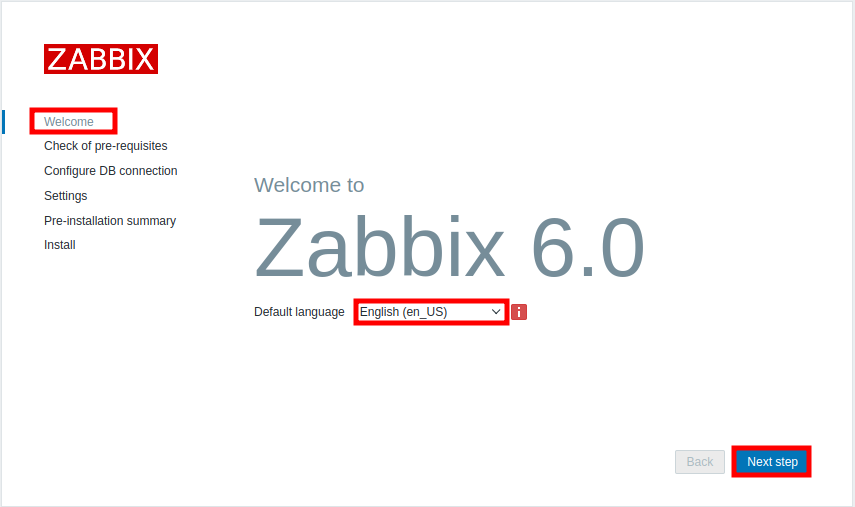
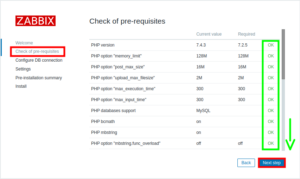

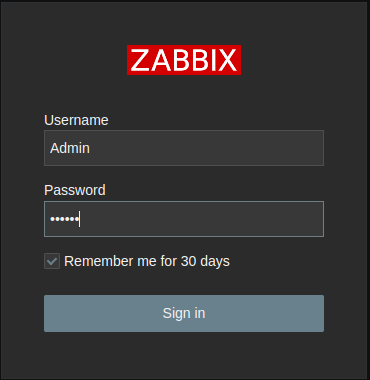
Log in with the default credentials Admin and zabbix.
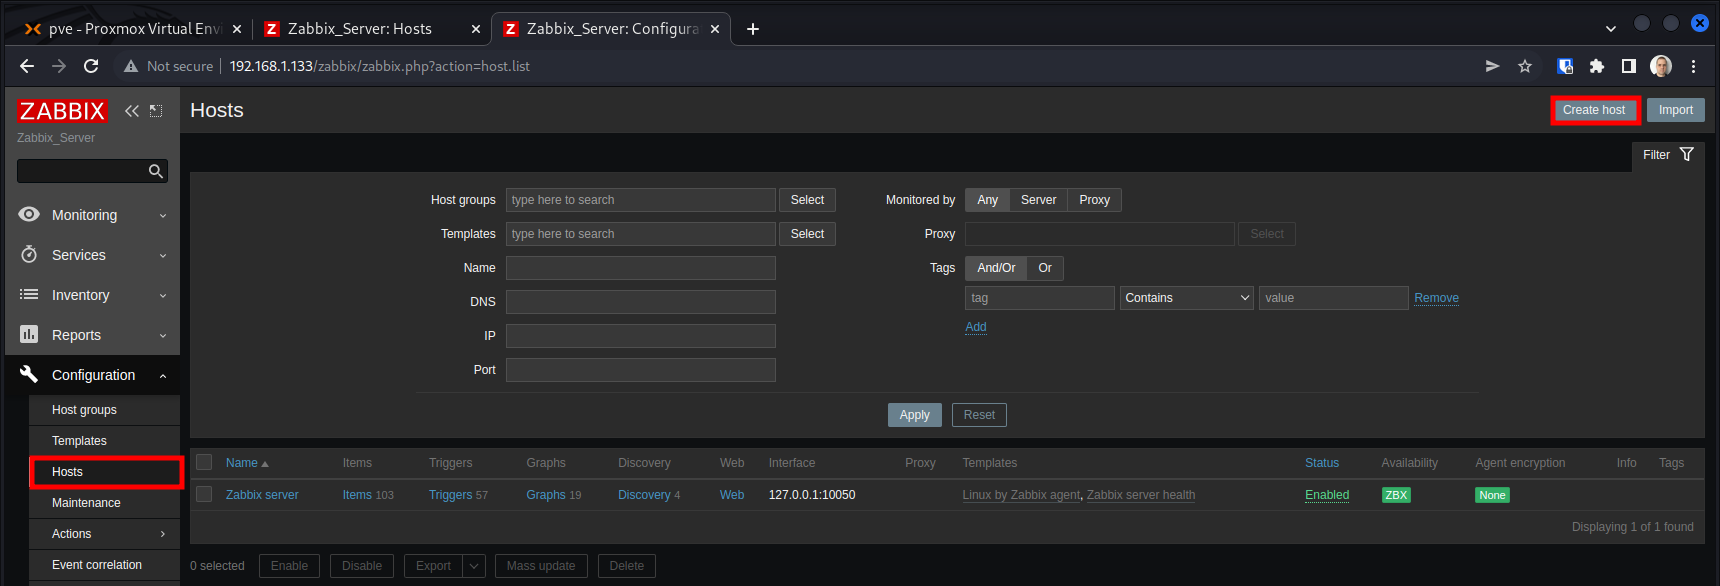
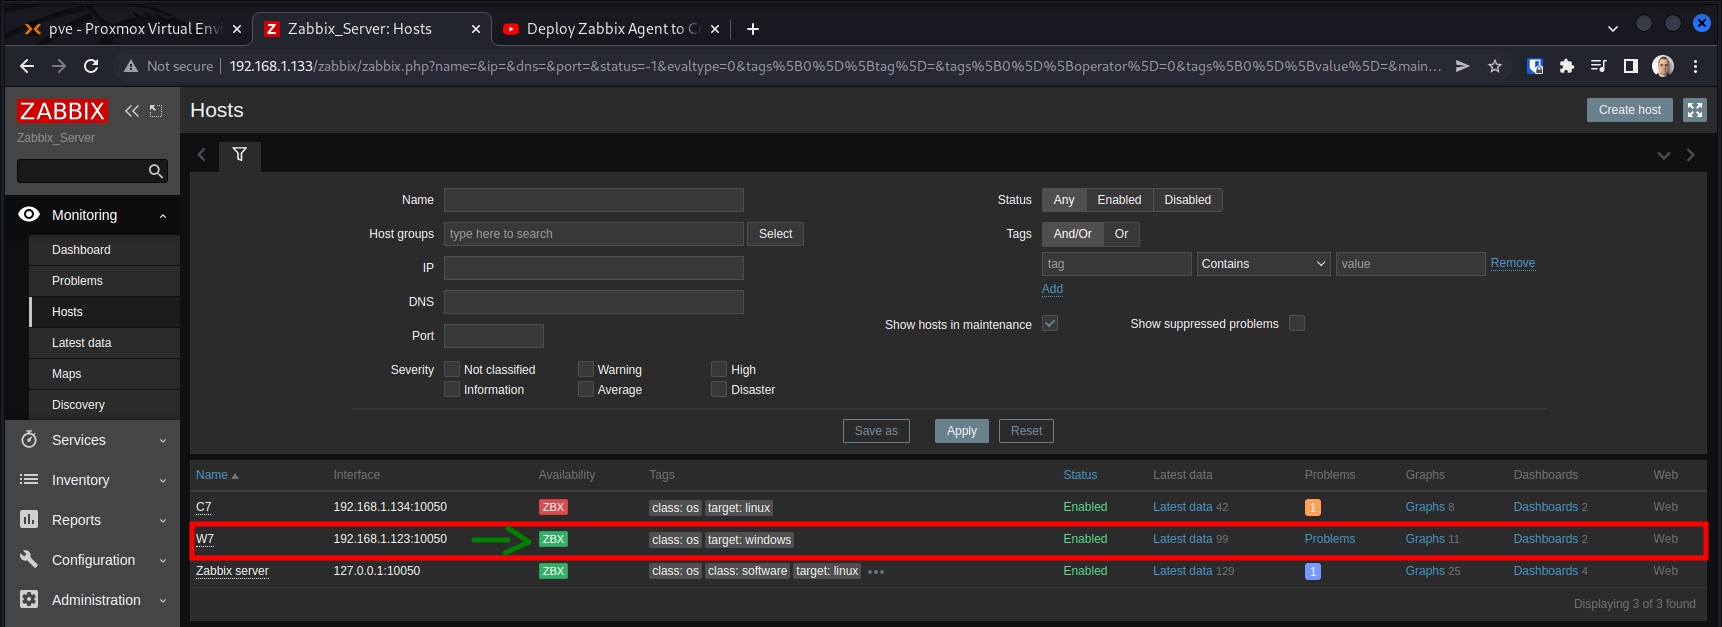
ADDING HOSTS TO THE SERVER
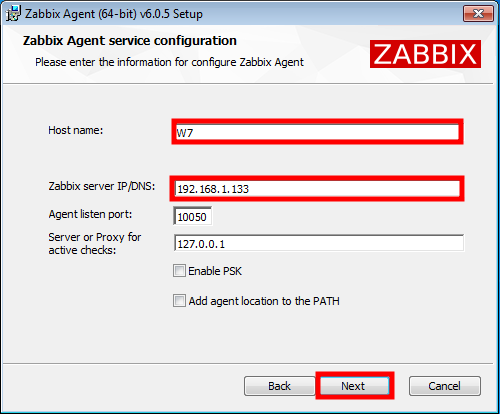
By default the communication happens as follows:
- Agent (port 10050) <–> Server (port 10051).
- The hostname is what identifies the host agent to the host on the server.
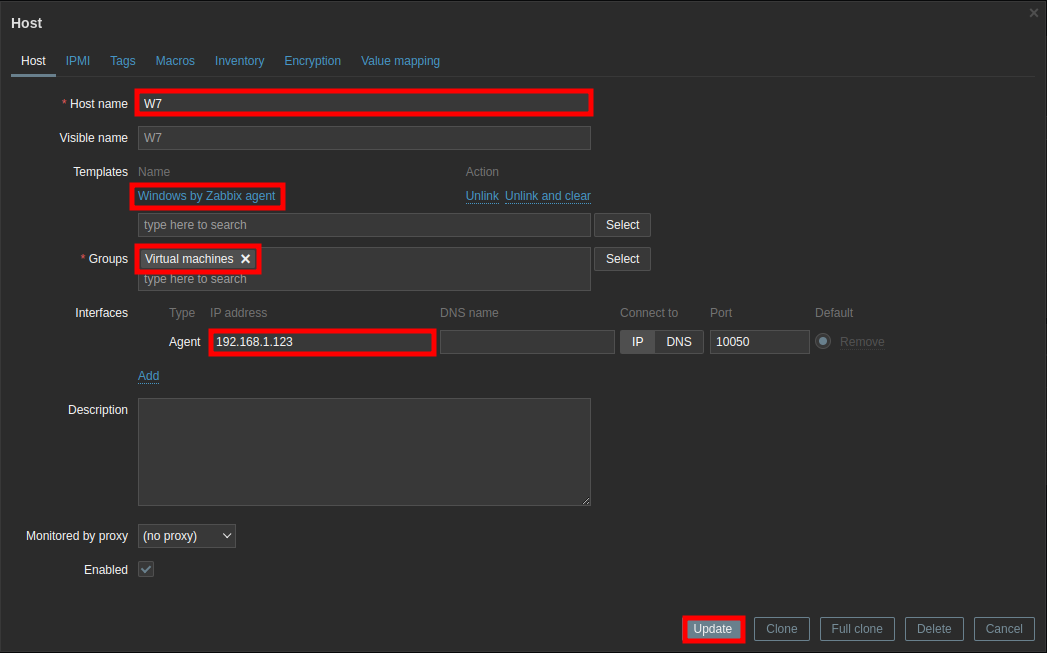
Adding a Windows host to the inventory:
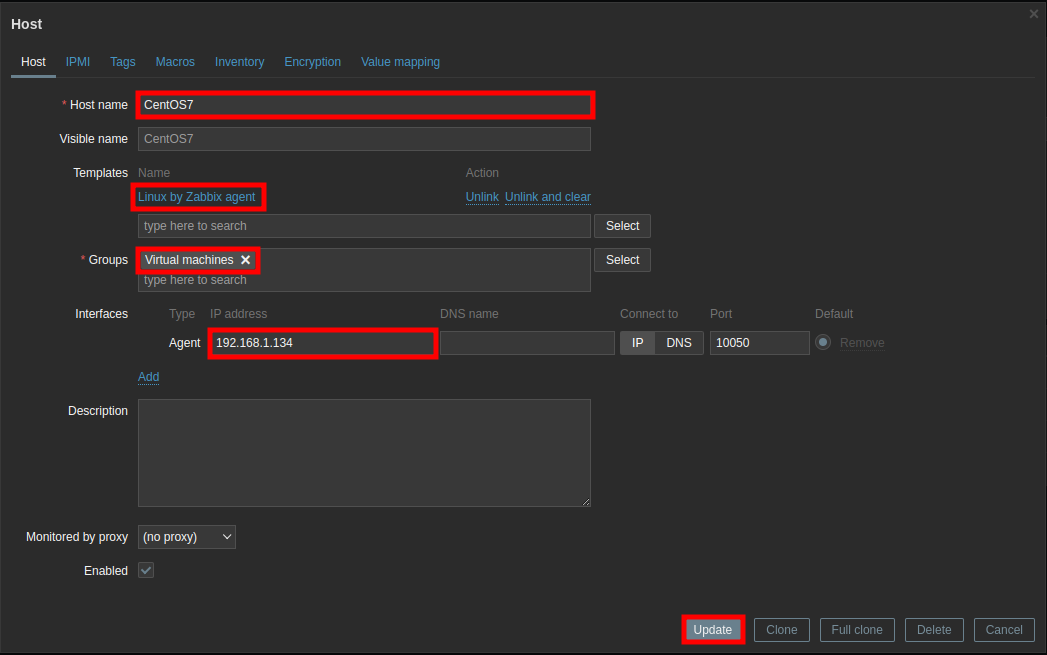
Adding a Linux host to the inventory:
INSTALLING THE AGENT ON THE HOSTS
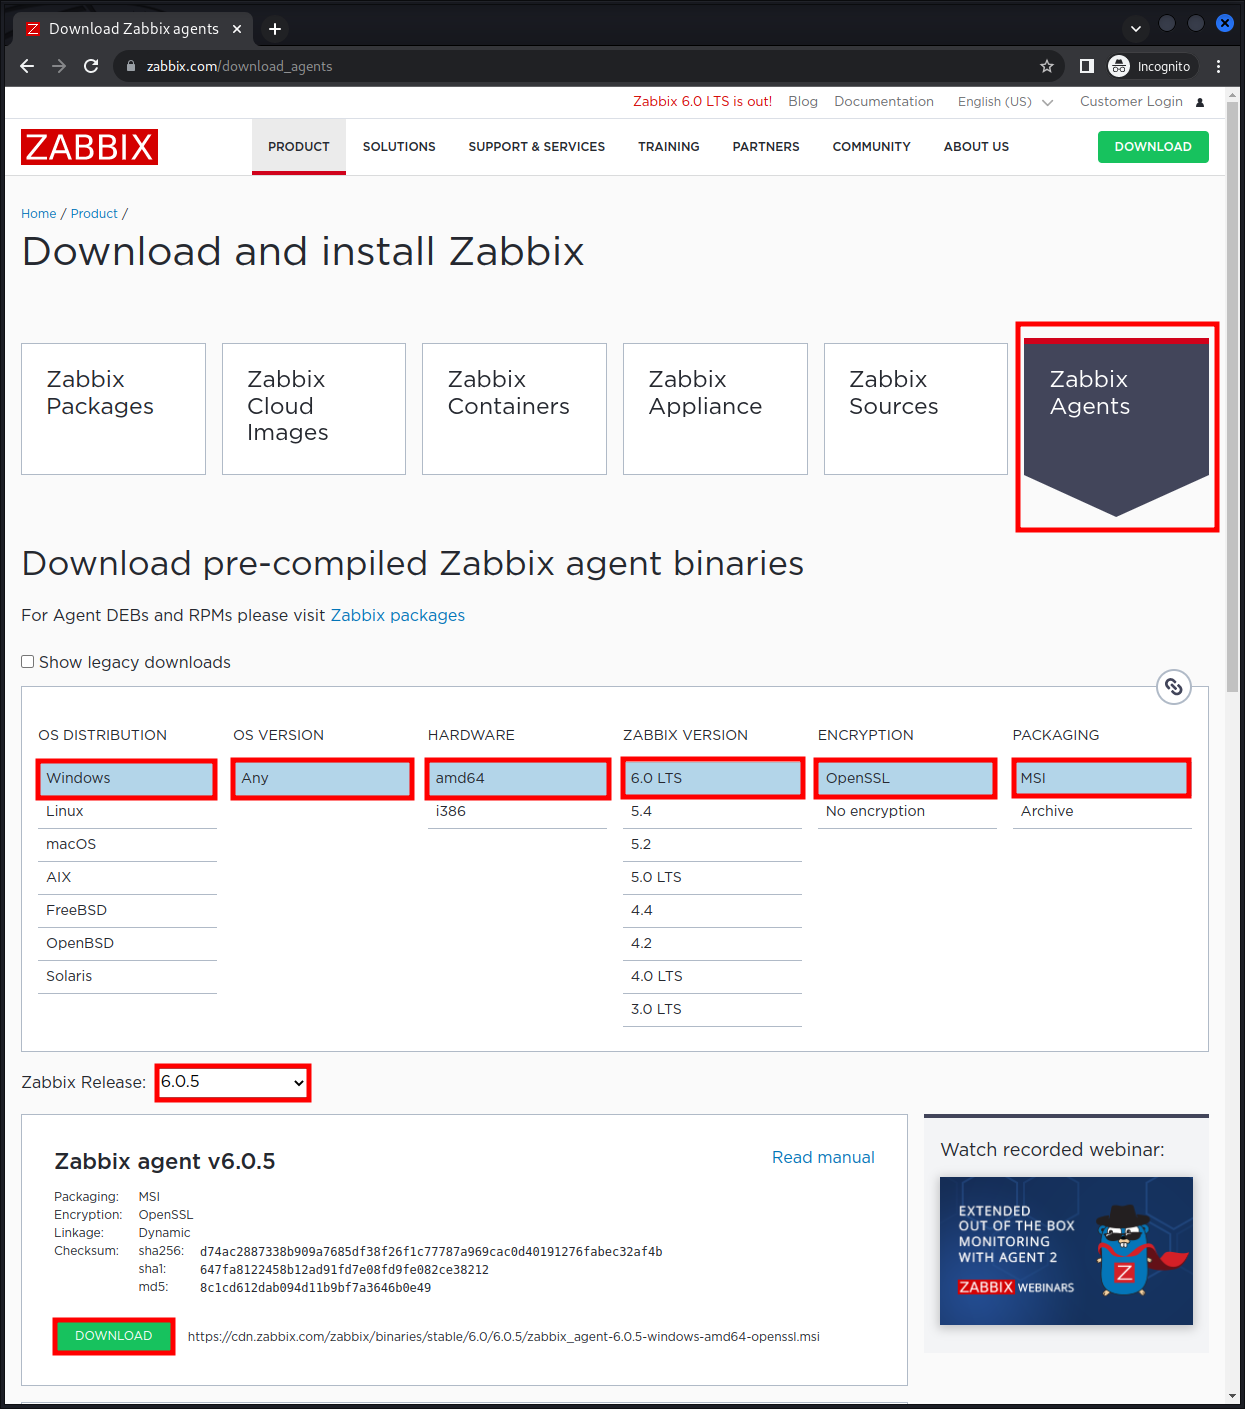
- Downloading the agent for Windows:
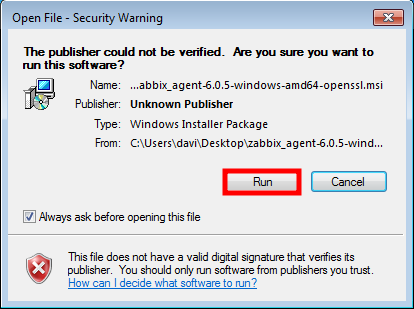
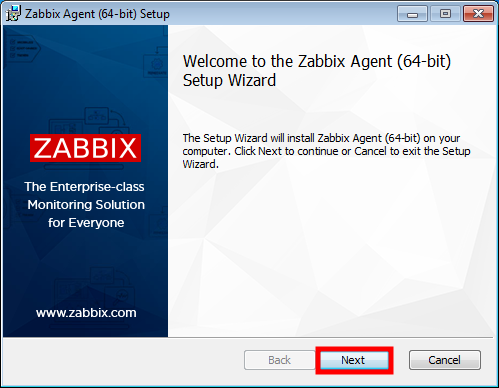
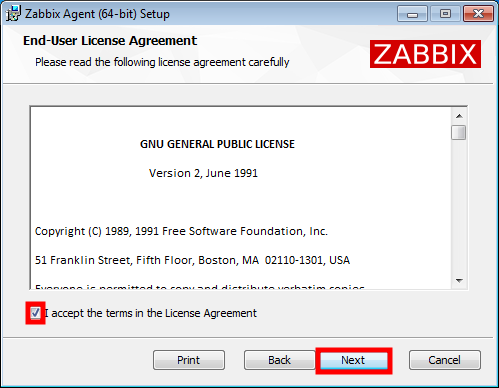
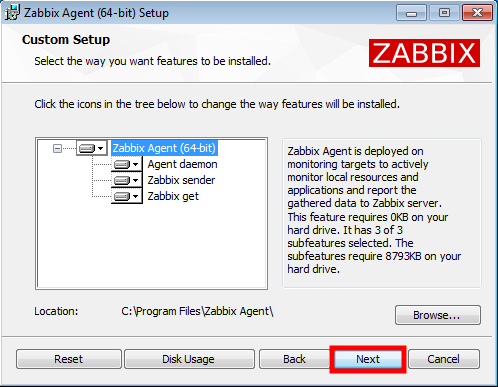
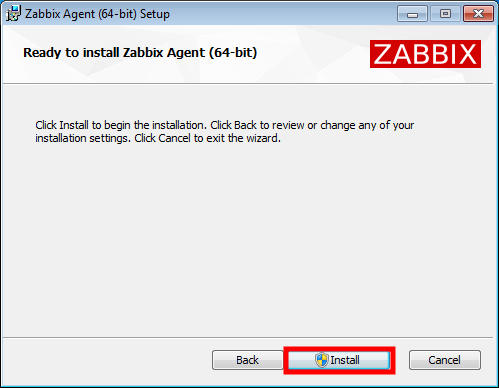
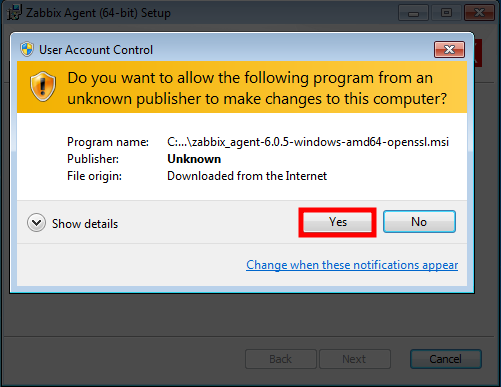
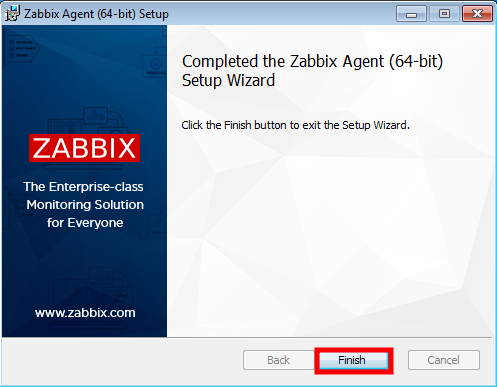
- Installing the agent on Windows:
- Installing the agent on Linux:
- CentOS 7
-
sudo yum update -y
sudo rpm -Uvh https://repo.zabbix.com/zabbix/4.2/rhel/7/x86_64/zabbix-agent-4.2.8-1.el7.x86_64.rpm
sudo yum clean all
sudo yum install zabbix-agent nano -y
sudo nano /etc/zabbix/zabbix_agentd.conf
-
...
Server=192.168.1.133
ServerActive=192.168.1.133
Hostname=CentOS7
...
-
sudo firewall-cmd --permanent --zone=public --add-rich-rule='rule family="ipv4" source address="192.168.1.133/32" port protocol="tcp" port="10050" accept'
sudo firewall-cmd --reload
sudo systemctl start zabbix-agent
sudo systemctl enable zabbix-agent
-
- Ubuntu 20.04
-
sudo apt update && sudo apt upgrade -y
wget https://repo.zabbix.com/zabbix/5.0/ubuntu/pool/main/z/zabbix-release/zabbix-release_5.0-1+focal_all.deb
sudo dpkg -i zabbix-release_5.0-1+focal_all.deb
sudo apt update && sudo apt install zabbix-agent nano -y
sudo nano /etc/zabbix/zabbix_agentd.conf
-
...
Server=192.168.1.133
ServerActive=192.168.1.133
Hostname=Ubuntu20
...
-
sudo ufw allow proto tcp from 192.168.1.133 to any 10050/tcp
sudo systemctl restart zabbix-agent
sudo systemctl enable zabbix-agent
-
- Ubuntu 22.04
-
sudo apt update && sudo apt upgrade -y
wget https://repo.zabbix.com/zabbix/5.0/ubuntu/pool/main/z/zabbix-release/zabbix-release_5.0-2+ubuntu22.04_all.deb
sudo dpkg -i zabbix-release_5.0-2+ubuntu22.04_all.deb
sudo apt update && sudo apt install zabbix-agent nano -y
sudo nano /etc/zabbix/zabbix_agentd.conf
-
...
Server=192.168.1.133
ServerActive=192.168.1.133
Hostname=Ubuntu22
...
-
sudo ufw allow proto tcp from 192.168.1.133 to any 10050/tcp
sudo systemctl restart zabbix-agent
sudo systemctl enable zabbix-agent
-
- CentOS 7
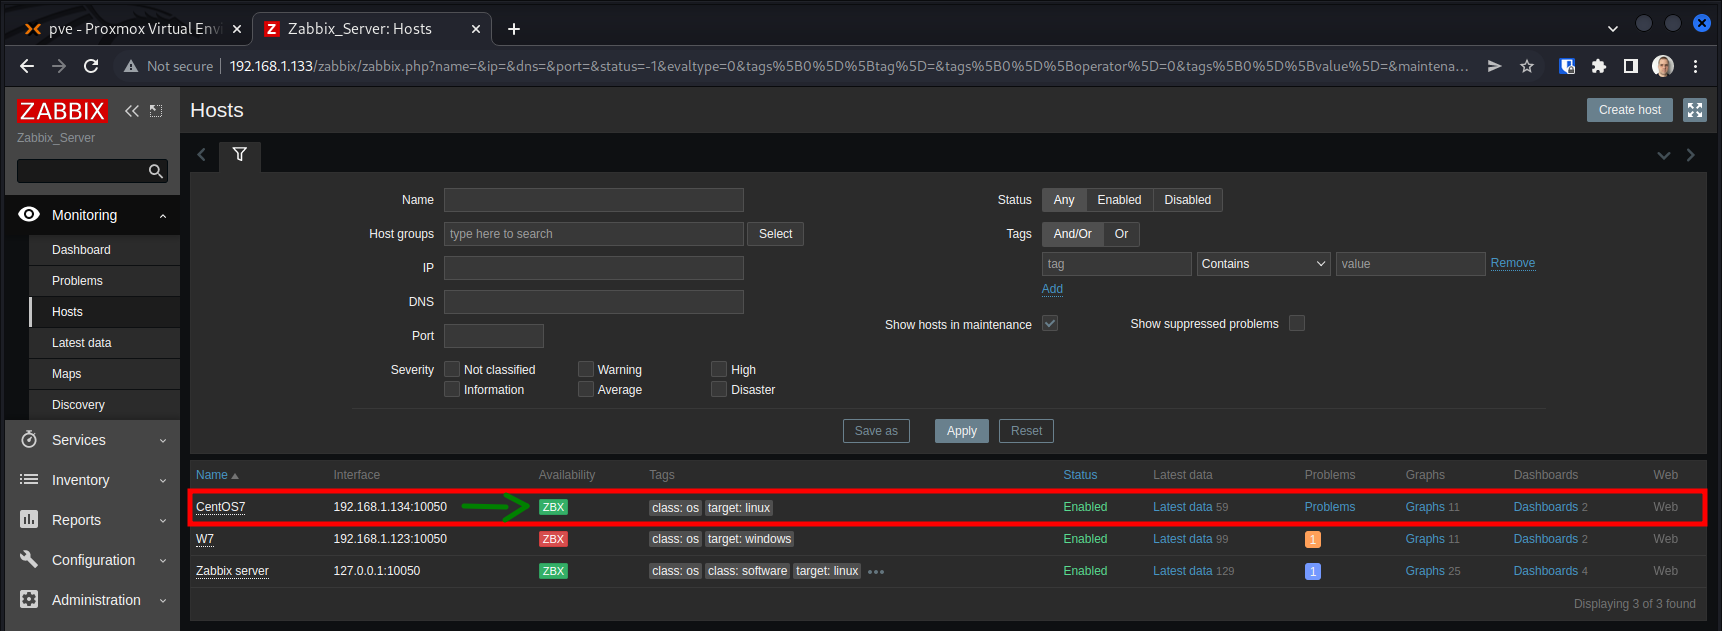
In few minutes you might see that the host become active: