Passbolt’s CE (Community Edition) is an enterprise grade open-source [Link] multi-platform [Link] password manager.
It is a great alternative to BitWarden [Link], another open-source password manager, that is incredibly complicated to install from source-code.
Recommendations
- Minimise its exposition to the internet to the bare minimal and only if needed,
- Prefer to allow access exclusively via local network or VPN,
- Always enable SSL/TLS (HTTPS),
- Don’t forget to set up the SMTP server for password recovery.
DOCKER INSTALLATION SCRIPT
sudo su
wget "https://download.passbolt.com/ce/docker/docker-compose-ce.yaml"
docker-compose -f docker-compose-ce.yaml up -d
Creating the first Admin user:
docker-compose -f docker-compose-ce.yaml exec passbolt su -m -c "/usr/share/php/passbolt/bin/cake passbolt register_user -u [email protected] -f myFirstName -l myLastName -r admin" -s /bin/sh www-data
It will generate a link that has to be copied to the browser to finalize the installation.
INSTALLATION SCRIPT FOR
UBUNTU / DEBIAN / RPI
wget "https://download.passbolt.com/ce/installer/passbolt-repo-setup.ce.sh"
sudo bash ./passbolt-repo-setup.ce.sh
sudo apt update && sudo apt upgrade -y
sudo apt install passbolt-ce-server -y
ROCKY / ALMA / ORACLE / FEDORA
wget "https://download.passbolt.com/ce/installer/passbolt-repo-setup.ce.sh"
sudo bash ./passbolt-repo-setup.ce.sh
sudo dnf install passbolt-ce-server
sudo /usr/local/bin/passbolt-configure
DOCKER
wget "https://download.passbolt.com/ce/docker/docker-compose-ce.yaml"
docker-compose -f docker-compose-ce.yaml up -d
CLI INSTALLATION STEPS

Provide the default master credentials to the newly deployed MySQL server. Username root and password is “empty”.
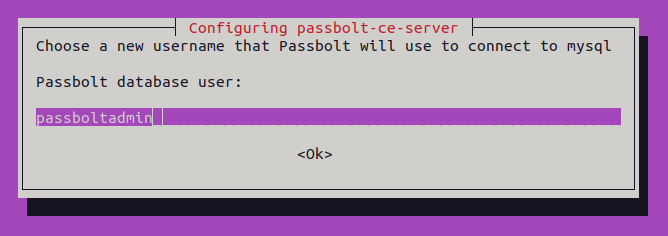
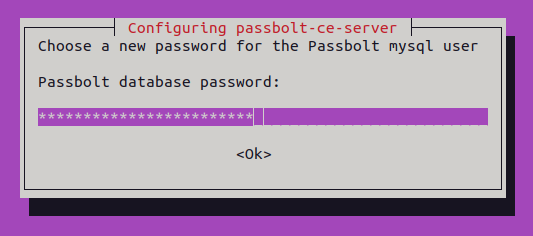
Accept or customise the suggested username that Passbolt will use and provide (twice) a very long and complex password to it:
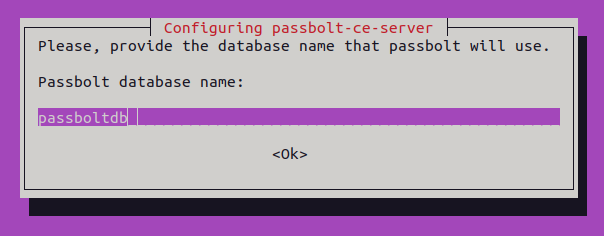
Accept or customise the name of the database (important in the case you have multiple instances of the app using the same DB):
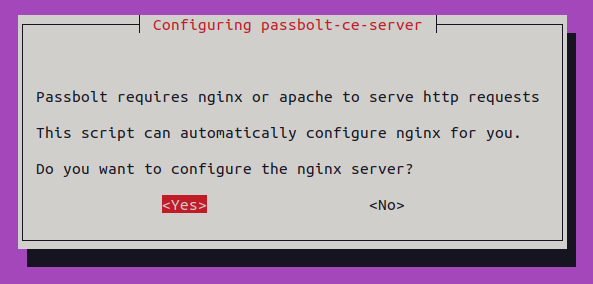
Passbolt does not faces the Internet or local network directly, it is shielded behind a web server such as Apache or NGINX that is capable of terminating TLS (HTTPS) communication and proxy internally the unencrypted request to Passbolt.
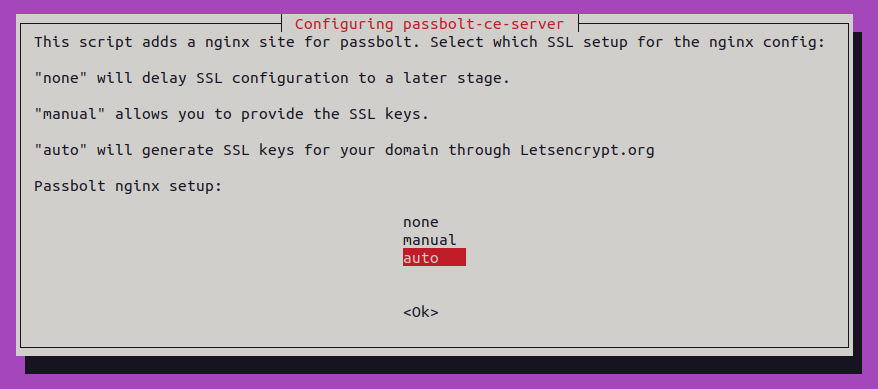
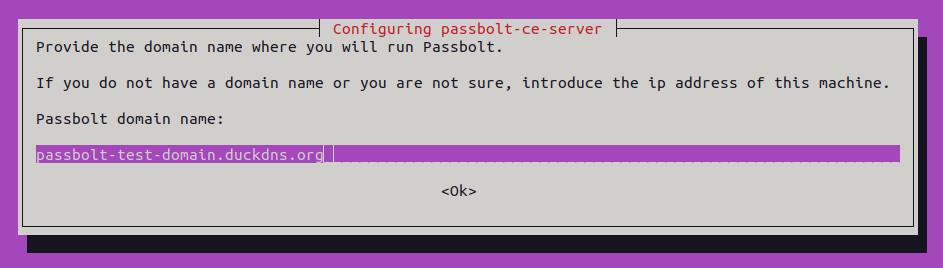
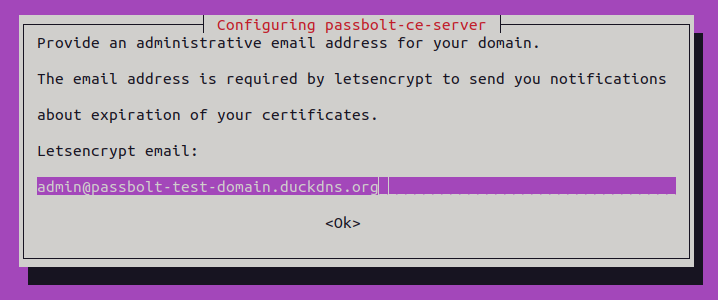
Note: it does require a real public domain for automatically accept the challenge from the Certificate Authority Let’s Encrypt. It is free and HIGHLY RECOMMENDED.
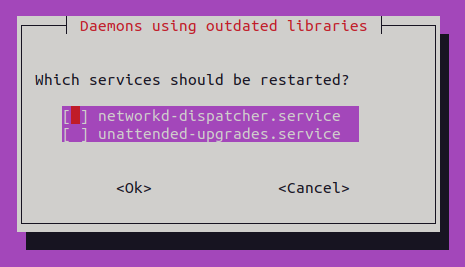
The installation suggests restarting few services. It is not required but does not hurt restarting all.
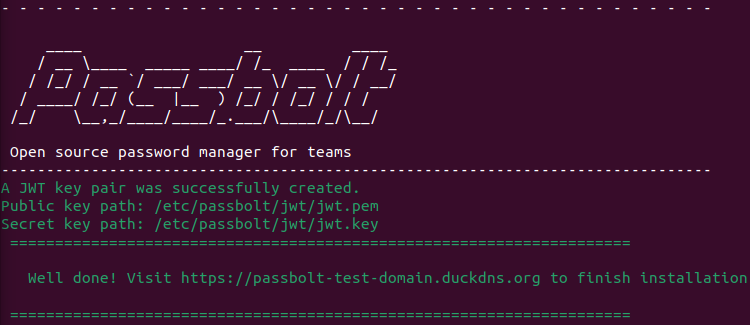
You might see the successful installation banner with the address to continue the installation on the browser:
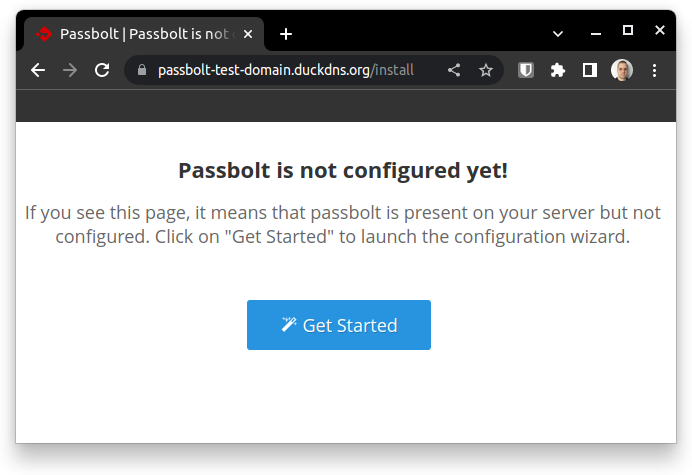
WEB INSTALLATION STEPS
Navigate to the domain that points to your Passbolt server and note it is an encrypted communication (HTTPS).
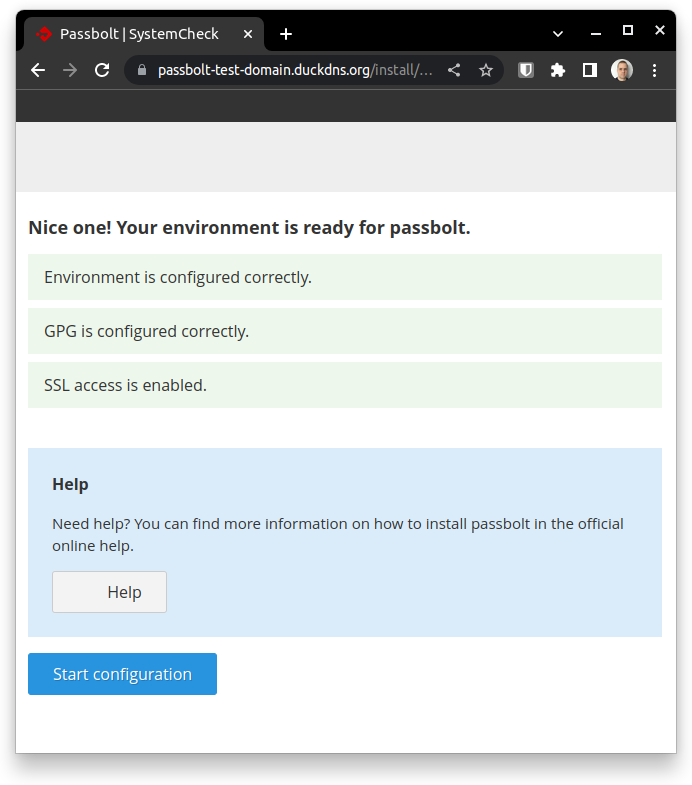
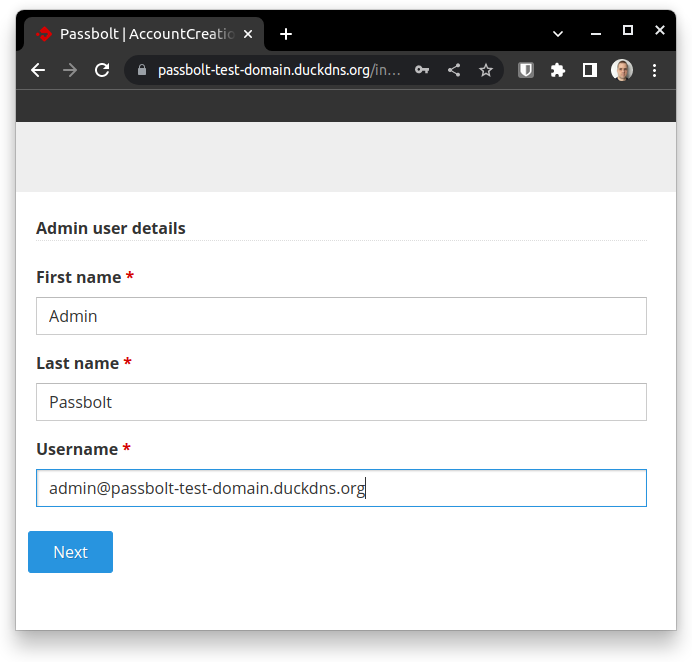
Follow the installation steps:
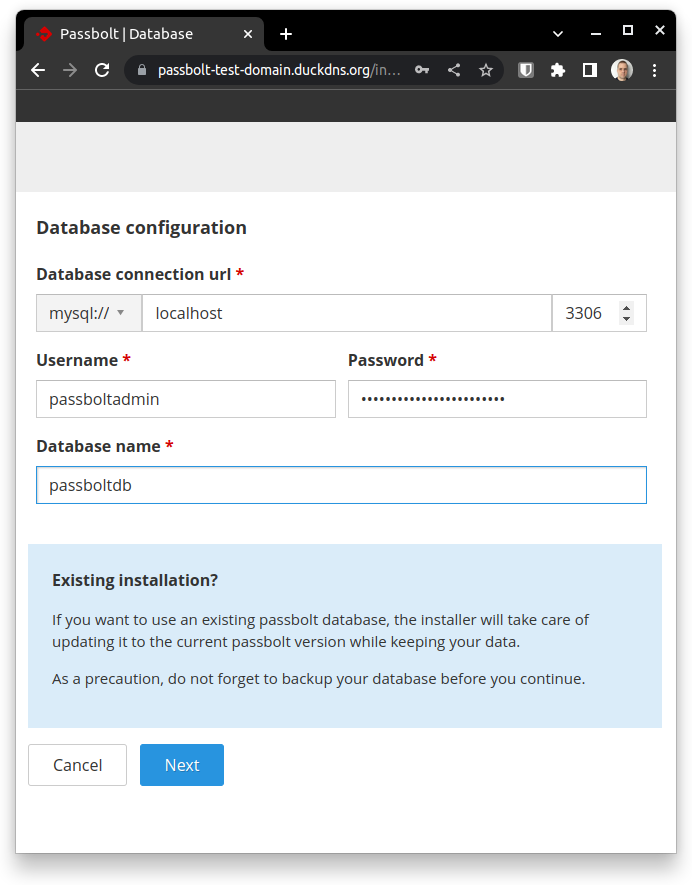
Enter database connection information you created using the installation over the terminal:
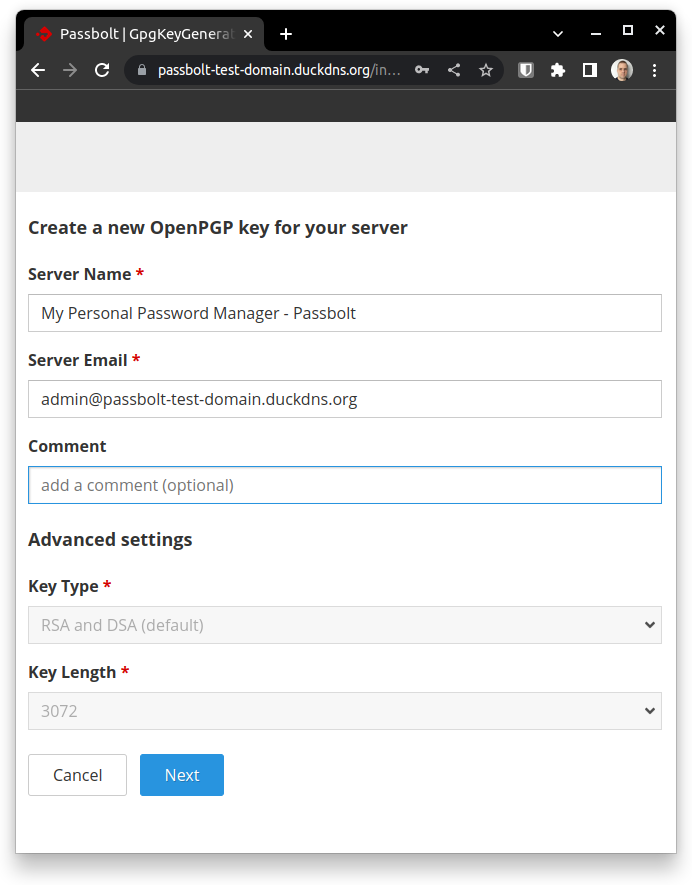
Give a name to the server and inform the contact of its administrator:
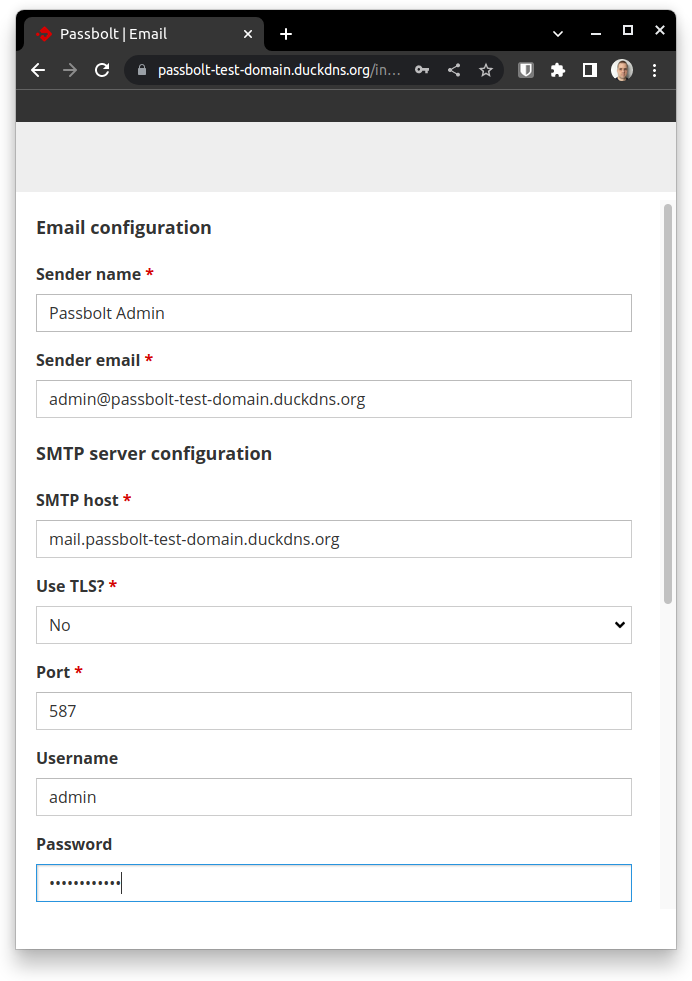
This is a crucial step that cannot be neglect. Passbolt requires an SMTP server to be able to send invitation to the user accounts, even to the admin account (without setting it up properly you will be locked out the server).
Important: only use a free SMTP server if you REALLY TRUST because, if malicious, it can offer a serious threat to your server and its holding data.
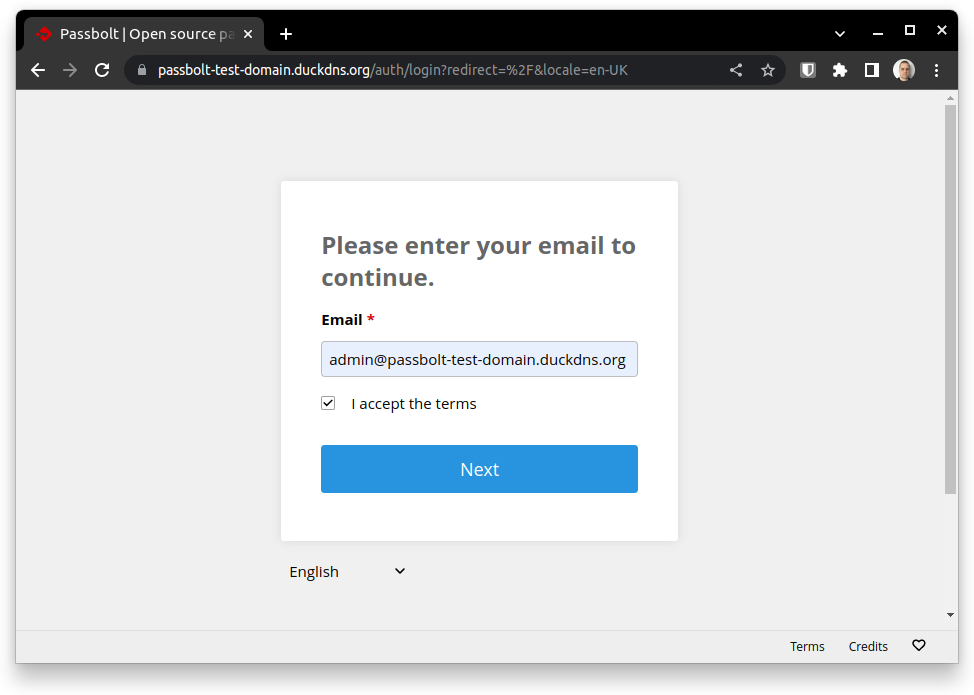
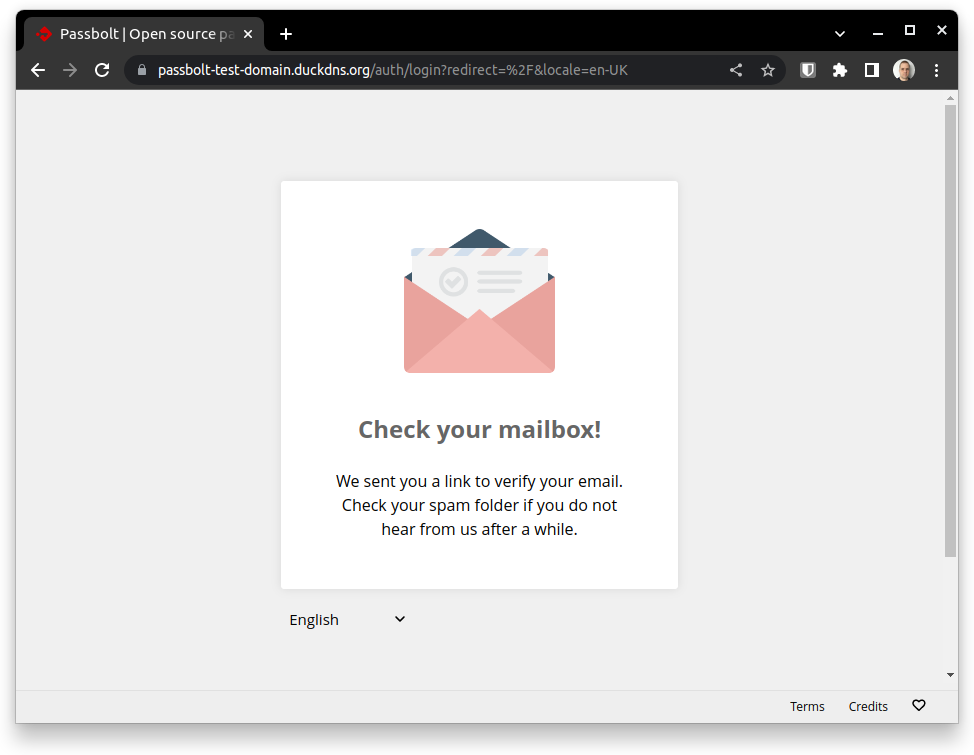
As you can see, the master admin account requires an email to be sent to complete the creation and set its password:
Good job! You can now install the browser extension to make the best usage of your new password manager features.

Do not forget to check the link sent in the activation email.
CONFIGURING SSL/TLS (HTTPS) MANUALLY / ADVANCED MODE
Passbolt it self does not support SSL/TLS, it is provided by creating a layer in front of the application using a web-server, such as Apache, NGINX, Varnish, etc.
Pro tips:
- Free option:
- Used Let’s Encrypt for free 90 days auto-renew certificates,
- Requires being directly exposed to the public Internet for validating domain ownership via HTTP challenge send from LE periodically.
- It is recommended to create multiple virtual-hosts to serve different pages depending on the client’s origin:
- If the client is aching from the LAN or VPN, serve the Passbolt via reverse-proxy,
- Otherwise, provide a blank page or a redirect.
- It is recommended to create multiple virtual-hosts to serve different pages depending on the client’s origin:
- Paid option:
- Purchase a public certificate from any vendor and for the amount of time desired (1, 2, 5 years…),
- The server can be completely protected from the public internet because the ownership of the domain can be validates via DNS, E-Mail, etc.
- It does not auto-renew the certificate. It is a manual process that will be required prior to the certificate expiration.